Status: Ready
Read and write e-mail.
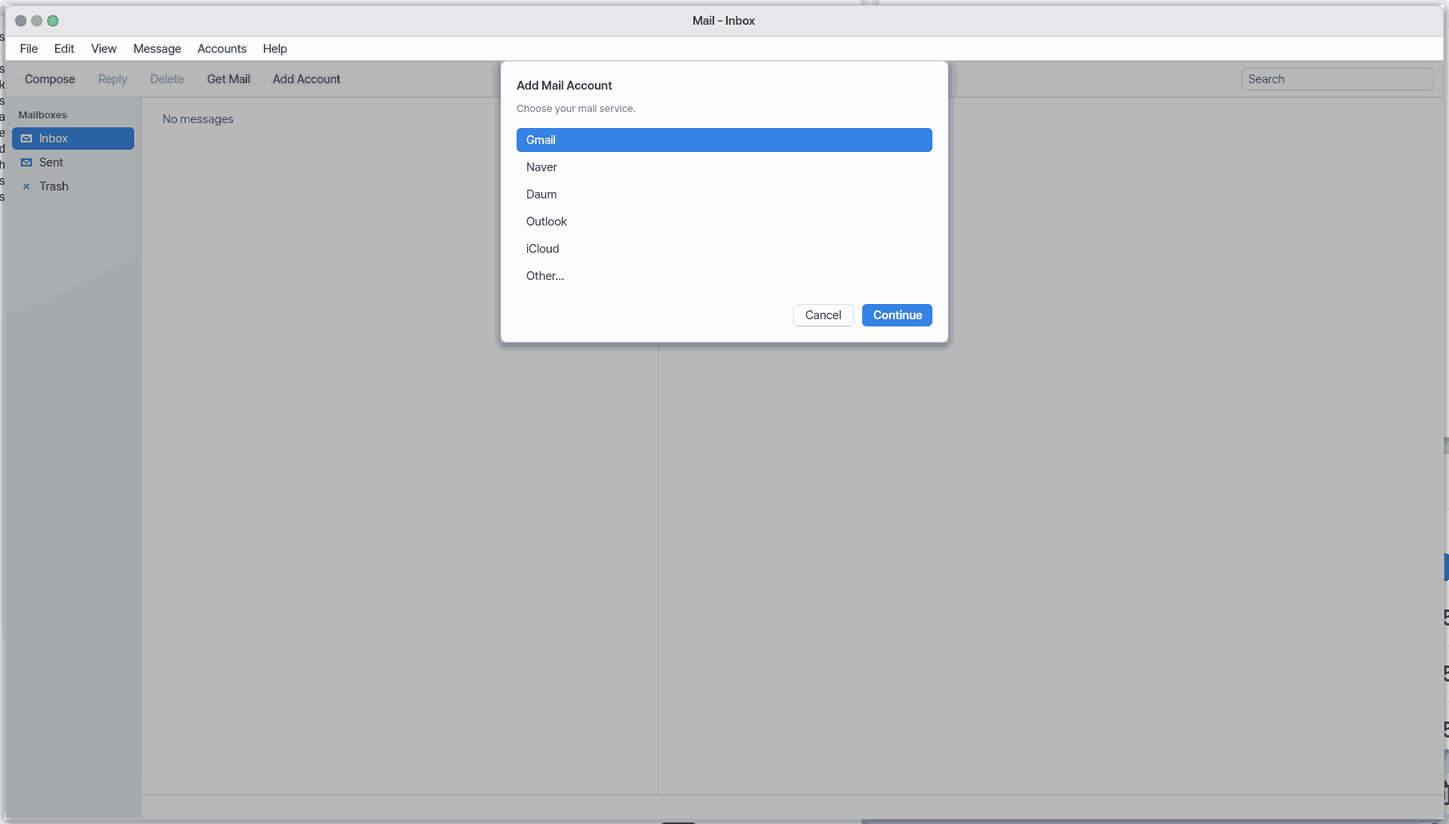
About this app
Read and write mail from your accounts in one place.
At a glance
In one line: Read and write mail from several accounts in one place.
The screen
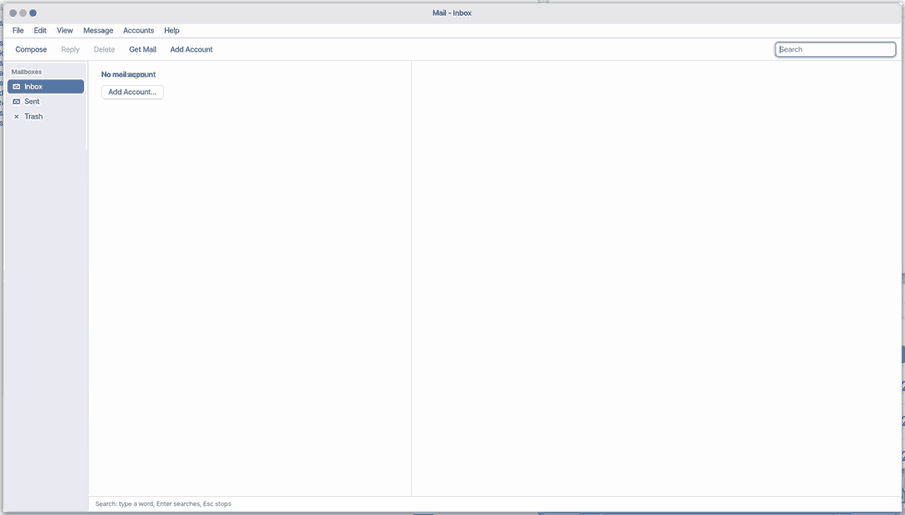
- Account button: adds a mail account
- Mail list: Inbox
Ctrl+1, SentCtrl+2, TrashCtrl+3 - "Get mail": fetches new mail (
F5) - Search box: go there with
/
Task 1. Add an account
- Press the account button
- For Gmail press "Sign in with Google"
- Press "Get mail"
Say: "Open the Mail app"
Task 2. Write a new mail
- Press the
nkey - Type the recipient and the text
- Press "Send"
Say: "Draft a hello email to Hong Gil-dong"
Task 3. Find a mail
- Press
/ - Type a word
- Press a result
Say: "Search my mail for invoice"
Basics
Mail travels by two agreements. To receive, IMAP reads the mailbox kept on the mail server; to send, SMTP hands the letter to a server. That is why the same account shows the same mailbox on every device. Want more? Press ⚡ and choose 「Teach me」.
How to use it
- Press the account button to add a mail account. For Gmail press 「Sign in with Google」: Google's sign-in page opens in your Mac's browser, and when you finish the account fills itself in.
- Fetch new mail with Get Mail or
F5and click a message to read it. - Press
nto write a new message and then Send. Press/to search.
Try it yourself
Try it: add an account and press Get Mail to watch the list fill.
How it works
- The account's server address and password are handled in Settings under Accounts.
- Sign in with Google uses a pass Google gives instead of your password. Think of it as getting a key card that opens only this app's door, rather than handing over your house key. The card goes into the Vault (
Mail/<account>), and each time mail is fetched it buys a pass that lasts a few minutes. - Saving an account tries the server once right away. If the server refuses, the reason is said in plain words and you can fix the same account and save again.
- Only when you press Get Mail does the app connect and fetch new headers and bodies.
- To send, it connects and hands the message to the server; without an account Send is greyed out.
- Opening, sending and deleting a message run in the background: the status line says "Opening… N s" with Cancel (or
Esc) and the desktop keeps working; after 30 seconds it says so. - It does not announce new mail by itself, so you fetch it yourself.
What this app takes
- Takes: nothing. Mail goes only between this device and the mail servers you chose (IMAP, SMTP).
- Where to: the account's mail servers. An account signed in with Google also goes to
oauth2.googleapis.comfor its passes; the sign-in page (accounts.google.com) is opened by your Mac's browser. - Does not take: passwords and tokens stay in the Vault — never in screens, logs or files. Nothing goes to our servers.
- How long: the message list stays on this device until you remove the account.
- How to turn it off: remove the account in Settings › Accounts (its Vault entry goes too). Google's permission can be removed at myaccount.google.com › Security › Third-party apps.
Technical details
Received attachments cannot be saved from this window; use the mail save command in the terminal. Account management lives in Settings under Accounts.
FAQ
New mail does not arrive
This app does not announce mail, so press Get Mail or F5. If nothing comes, check the internet connection and the account password.
It says 「Please sign in with Google again」
Google took the pass back: the password was changed, access was removed, or the Google Cloud project is still in testing and 7 days passed. Press 「Sign in with Google」 below it and the same account carries on. It never quietly falls back to a password.
It says 「Gmail: please use Sign in with Google instead of an app password」
Gmail refused a password login. Remove the account, choose Gmail again and use 「Sign in with Google」.
What about Naver, Daum and iCloud?
These services give mail programs no sign-in like Google's, so they use an app password. 「Open the app password page」 on the add-account sheet opens the service's official page. On Naver and Daum, turn on 2-step verification first and switch IMAP on in the mail settings.
The first time, Sign in with Google asks for a 「Client ID」
That is the name tag NanumOS shows Google ("this is the app"). Make a 「Desktop app」 client once in the Google Cloud console and type its ID and secret: they go into the Vault as Google/OAuth client and are not asked again.
I want to send an attachment
Sending attachments and Cc are not available yet.
Try this
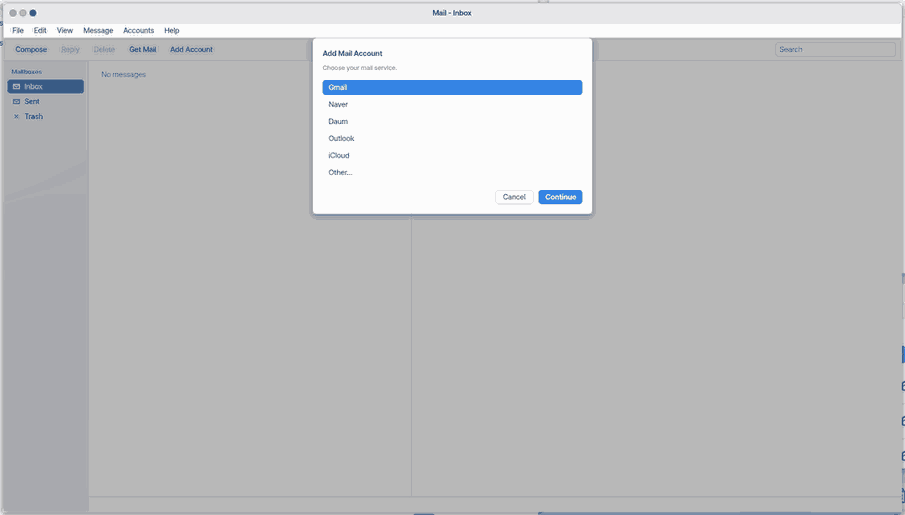
1. Add an account
- Click the account button.
2. Write a message
- Press
nfor a new message window.
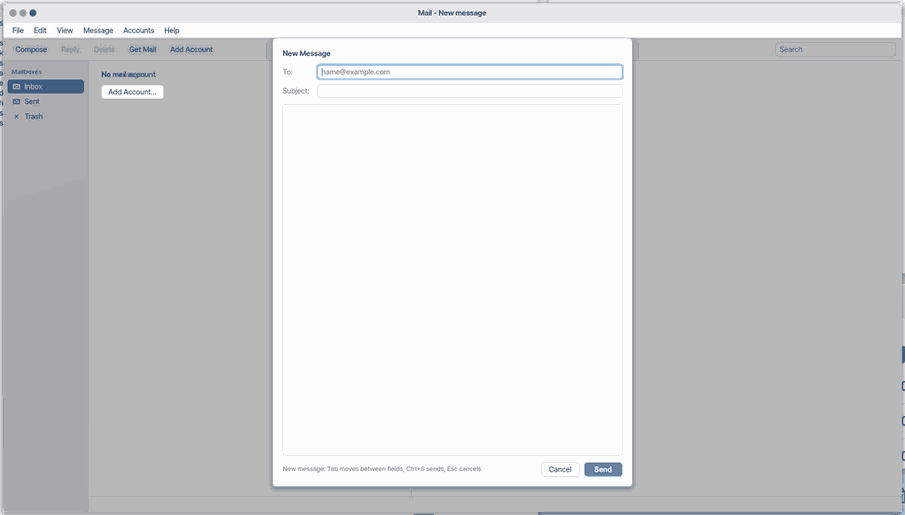
Escgives up writing.
3. Search your mail
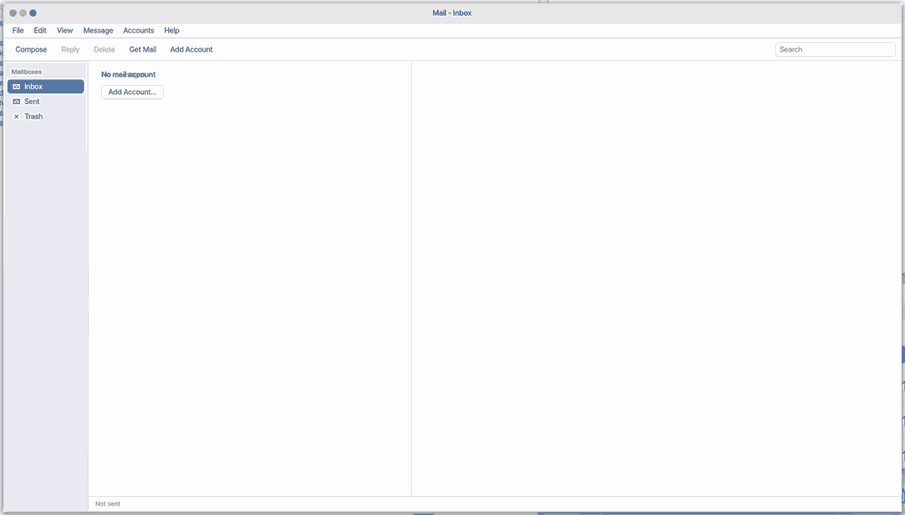
- Press
/to go to the search field.
Shortcuts
| Key | What it does |
|---|---|
Ctrl+N | New Message |
Ctrl+R | Reply |
F5 | Get Mail |
Del | Delete |
Ctrl+W | Close |
Ctrl+C | Copy |
Ctrl+V | Paste |
Ctrl+F | Find… |
Ctrl+1 | Inbox |
Ctrl+2 | Sent |
Ctrl+3 | Trash |
Enter | Open |
Ctrl+S | Send |
Ctrl+, | Settings… |
F1 | Mail Help |
PgUp, PgDn | and Space: scroll the reading pane one page. |
Settings
Mail's settings are in the Accounts menu. Settings… (Ctrl+,) and Accounts… open the "Accounts" pane of the Settings app.
- Signature… — the signature added after the text of an outgoing message, below a
--line. It is not shown while you write; it is added at the moment you send. The same sheet opens from Settings > Apps > Mail.
The Edit menu has undo, redo, cut, copy, paste and select all for To, Subject and the search field (the body takes Paste only). Message > Open Message opens the selected message in the reading pane.
What it cannot do
- There is no new-mail notice. You press "Get Mail" or
F5. - A copy of sent mail is not kept in "Sent".
- There is no Cc, no Bcc and no sending of attachments.
- You cannot save a received attachment in this window. Save it with the
mail savecommand in the Terminal. - There is no conversation (thread) view.
- Without an account you can write a new message but not send it: "Send" is greyed, and the "Add Account" link beside it adds one.
NanumOS 0.1.8349 · 2026-11-16