Photo Booth
Status: Ready
A camera that shoots the moment you press. It all goes to Photos › Camera.
About this app
Photo Booth takes photos and videos with the camera. The shutter fires right away, and what you shoot is collected in the Camera album of the Photos app. You can pick Normal, Black & White, Sepia or Mirror effects.
Basics
A camera app keeps showing what the lens sees and, at the instant you press the shutter, saves one frame as a file. A video is a run of such frames, several per second. The preview here is flipped left to right like a mirror, which makes your movements match the screen and makes it easy to frame yourself. Because the camera touches your privacy, the app asks permission once on first use and the camera runs only while the window is open.
How to use it
- Opening the app turns the camera on and shows the preview. The first time, it asks whether to allow camera use.
- Use the Photo | Video switch above the shutter to choose what to shoot.
- Press the middle shutter button (or
SpaceorEnter) and the photo is taken at once. For video, the shutter starts recording (a red dot and a timer appear) and a second press stops it. - The Effects button or
←→switch between Normal, Black & White, Sepia and Mirror. If there is more than one camera, use Switch Camera. - Right after a shot, a card at the lower left says where it was saved. Tap it to open the photo in Photos (a video opens in Video); "Copy" lets you paste it into a document with
Ctrl+V. - In Settings (
Ctrl+,) set mirrored preview, countdown (off or 3 s), flash, and "Save as others see you".
Try it yourself
Choose Photo, press the shutter once, then tap the card at the lower left to open the picture in the Photos app.
How it works
- Opening the window turns the camera on and closing it turns it off. While it is on, a green camera mark shows in the top bar.
- Nothing is saved unless you press the shutter.
- Effects apply equally to the preview and to the saved photo.
- By default photos are saved flipped back to the way others see you; turn that off in Settings to save exactly what the mirrored preview showed.
- Camera permission is asked once and remembered. After a refusal you can use "Ask again" on the screen.
- On the phone browser version (lite) the browser asks for camera access separately.
FAQ
Where is the photo I took
In Photos > Camera. "Open" next to "Saved to" below the preview opens that folder in the Files app.
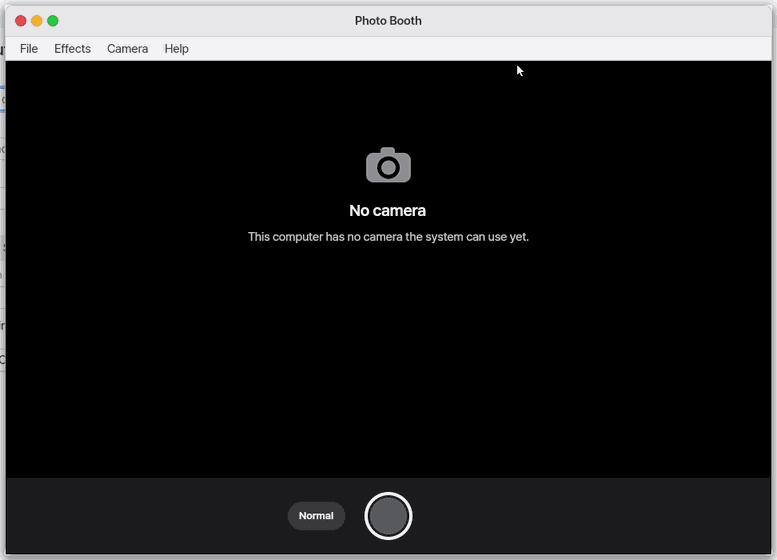
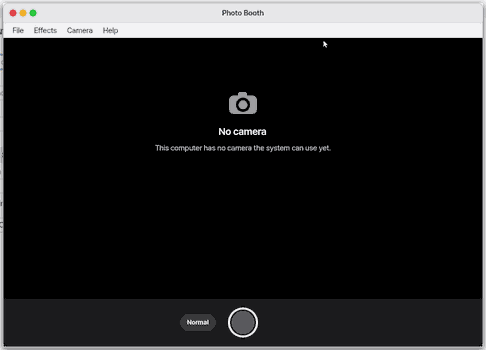
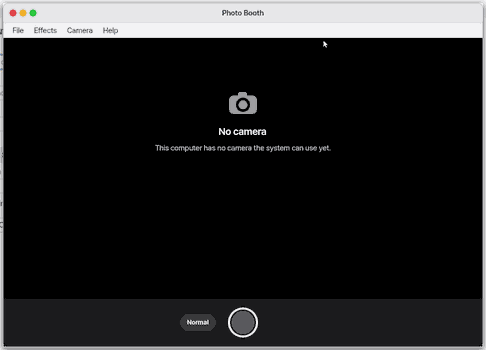
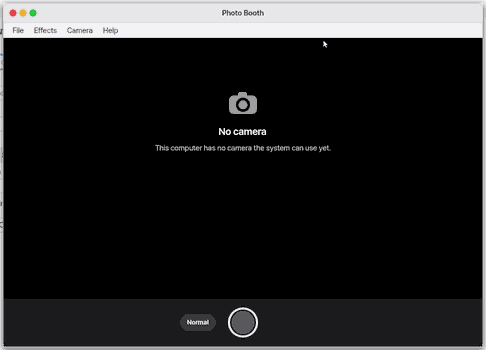
It says "No camera"
No camera that this device can use has been detected yet. A USB camera works as soon as you plug it in. If you refused camera use, press "Ask again".
I want a countdown
Set the countdown to 3 s in Settings and the shutter will count 3, 2, 1 before shooting.
At a glance
In one line: A camera that takes the picture as soon as you press. Photos and videos gather in Photos > Camera.
The screen
- The middle preview: what the camera sees
- "Photo | Video" above the shutter: choose what to take
- The bottom bar: last shot on the left, effect buttons, shutter in the middle
- "Saved to" and "Open" under the preview: opens that folder in Files
Task 1. Take a photo
- Choose "Photo"
- Press the shutter button
Say: "Take a photo"
Task 2. Pick an effect
- Press "Effects"
- Pick Black and white, Sepia or Mirror
Say: "Open Photo Booth"
Task 3. Look at the shot
- Press the card at the bottom left
- See it in the Photos app
Say: "Turn on Photo Booth"
Try this
1. Take a picture
- Press the shutter in the middle (or Space / Enter): the picture is taken at once. The first time it asks to use the camera, and it remembers the answer. For a video, pick 「Video」 above the shutter and press it: recording starts at once (a red dot and the time); press again to stop.
2. Pick an effect
- Effects: black and white, sepia, mirror.
3. See the pictures
- Right after the shot a card at the bottom left says 「Saved to Photos · Photos › Camera」. Press it to open that photo in Photos (a video in Video); Copy puts it on the clipboard so
Ctrl+Vpastes it into a zOffice document. 「Saved to: Photos › Camera」 under the picture has Open, which shows the folder in Files.
Shortcuts
Space·Enter: shoot (in Video: start / stop recording)←→: change the effect
Settings
Settings > Apps > Photo Booth (or the app's Settings…):
- Mirror the preview (on): show it like a mirror.
- Countdown (Off / 3 seconds): Off by default — the press takes the picture.
- Flash (on): the screen flashes when the photo is taken.
- Save photos as others see you (on): photos are saved the right way round. Off saves them as the preview showed them (mirrored).
Overview
Take photos and videos with the camera. Open it from the first page of the app launcher (the phone's first home page) or the camera button in Control Center. Ask the assistant 「Take a photo」 and it opens the camera, counts 3 seconds and shoots.
What it does
The card right after a shot says where it went. Pressing it opens that photo (or video); Copy puts the picture on the clipboard for Ctrl+V in a zOffice document. In Documents, Insert › Take Photo… opens this app, takes one picture and puts it at the cursor.
Four effects: Normal, Black & White, Sepia, Mirror (the left half folded onto the right). The effect is in the preview and in the photo alike.
With more than one camera (a phone's front and back cameras) the Switch Camera button changes it.
Camera and privacy
While the camera is on, a green camera mark is at the right of the top bar (on a phone, a green dot in the status bar). Clicking it goes to the app using the camera. Closing the window turns the camera off. Nothing is saved unless you press the shutter.
On the phone edition (lite) the browser asks for the camera. If you refused, allow it in the browser's settings (iPhone: Settings > Safari > Camera). Photos go into lite's Photos app; Save to Phone over the picture hands the photo to the phone's share sheet (iPhone: "Save Image") or downloads it, so it lands in the phone's album.
Screen
- The middle is the camera preview, with a "Camera on" mark at the top left.
- One line under the preview: 「Saved to: Photos › Camera」 and Open (the folder in Files).
- The bottom bar: Photo | Video on top, the last shot at the left (opens it), the effect button, the shutter in the middle, Switch Camera at the right.
- With no camera, "No camera" and what to do ("Plug in a USB camera and it works at once. On a Mac, start NanumOS from its own window so the Mac's camera comes along."); after a refusal, "Camera access is off for Photo Booth." and Ask Again.
Menus
| Menu | Item | Shortcut |
|---|---|---|
| File | Take Photo | Enter |
| File | Show in Photos | |
| File | Close | Ctrl+W |
| Effects | Normal · Black & White · Sepia · Mirror | |
| Camera | Switch Camera | |
| Camera | Settings… | Ctrl+, |
The space bar is a shutter too. The left and right arrows change the effect.
Which cameras work
- Phone edition (lite): the camera of a phone's or a computer's browser (iPhone Safari, Android Chrome, lite added to the home screen too).
- NanumOS on a PC: USB cameras (UVC — most built-in laptop cameras). Not yet confirmed on real hardware: send the output of
camera probefrom the Terminal and it will be fitted. - The Mac window: the Mac's camera. A camera helper on the Mac (
ZeusOsCam) starts with the window and stops when it closes — nothing to start by hand. If the Mac has not allowed the camera yet, the screen says "The Mac has not allowed the camera yet. On the Mac, open System Settings › Privacy & Security › Camera and switch on “Terminal”" (the app that started the window is named). Switch it on and press Try Again. "The Mac's camera helper is not running" means: start the NanumOS window again.
Version
0.1.1 — in the Mac window, says what to switch on when the Mac blocks the camera. 0.1.0 — Lab.
What it cannot do
No video recording, no 4-shot strips, no background effects. Photos are at most 1280×720.
NanumOS 0.1.8349 · 2026-11-16